I spent last weekend at Okoumefest, the wooden boat show hosted by Chesapeake Light Craft, last Friday and stayed in the area through Sunday. I managed to arrive at CLC HQ just as the famous Nick Schade was starting his fiberglass demo. First, the guy is an amazing fountain of knowledge. Second, it was nice to see that fiberglass acts exactly the same with him as it does with me, with its wrinkles, tearing, bunching, and overall pettiness. That's right, fiberglass. I called you petty.
Following Nick, John Harris, CEO of CLC and the designer of PocketShip, led a session on varnishing. Contrary to the old adage of "watching paint dry", watching John with varnish and learning from John was one of the highlights of the week. The man can work varnish, that's for sure. Little things that explained why my first varnishing attempts on the boom gallows didn't go so well made sense. I now know what to do and what to avoid when I move onto the spars and other varnishing.
 |
| Nick (right) works the 'glass while John looks on. |
 |
| John puts on a varnishing clinic. |
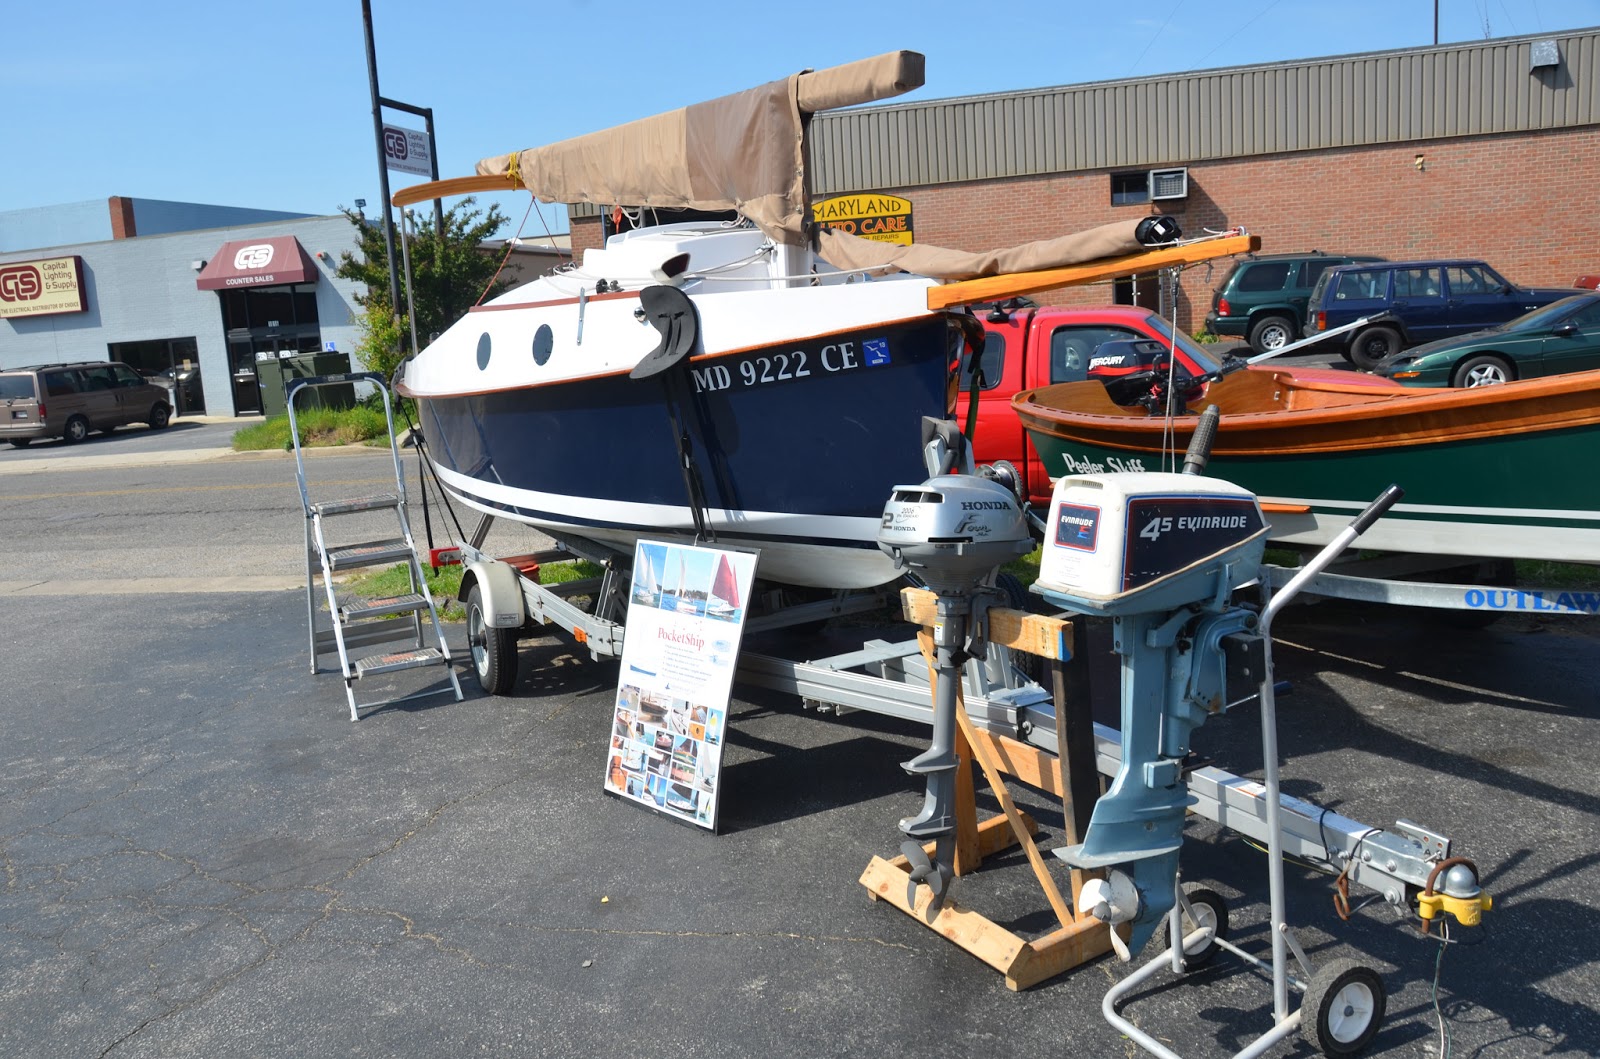
After his session, I clambered up and into PocketShip for a good, long look at the original boat. After 5 years, it's still in good shape. Paint here and there seemed light and the mahogany rub rails were scuffed in places but she was still a fine boat. I was especially interested in the nooks and crannies: behind bulkhead #2 where the electrical work is done, under the floorboards, and in the lazarettes. As others have done, I'll definitely be putting some extra ply in that area to separate the foam from the storage, as water can get in the bilge by way of a leaky hatch. It's not from sea spray - review after review marvels at the dry cockpit while underway - but from rain and melting snow. Standing bilge water was evident on PocketShip #1. When I pulled up the hatch, it had musty smell like some dirty elf was hiding in there.
 |
| PocketShip #1 on display. |
 |
| Looking forward on PocketShip #1. Nice cushions that need cleaning. It was cool to see the tiller, which gets special treatment in the manual |
 |
| Electrical panel and storage. I like the trim around the storage holes. The wooden strip along the cabin holds up fabric to control condensation. |
 |
| The octopus that is electrical wiring. Even on a small boat, it can get pretty complicated. |
I was told the ship hadn't been out of the garage since September;
Okoumefest was the 2013 shakedown sail. So all can be forgiven that it
didn't have a proper, all-round bath. David, the kid giving the
PocketShip tour, cleaned the boat really well but obviously didn't get
into the foam. I then saw the line for the BBQ growing, so I hopped out
of the boat and waited for my chance at hot dogs, burgers, and beer.
Those CLC guys know how to throw a party.
Two hot dogs and a burger later, I made my way over the bridge to Matapeake State Park for Friday night camping, which was a disappointment. Matapeake is a nice park with a nice beach and great views of the Bay Bridge. Of course, they put us in a fenced in area overlooking the parking lot with views of the tick infested chip wood. More on that later. No one was particularly social, as it turns out most of the campers were Water Tribe members gearing up for the marathon. They went to bed early, got up early, and were so self-sufficient just about every one of them turned down my offer of eggs and coffee in the morning. Most of the 'festers were in Tuckahoe which is vastly superior in terms of camping amenities.
 |
| How I made breakfast. I love the fact I also used this exact set up to melt my lead for the keel. |
 |
| The beach before anyone else got there. |
 |
| A typical anti social Water Triber. |
To put Water Tribe into perspective, the plan for them was to wake up Sunday morning, paddle 62 miles across essentially open water, and race to the finish all under human power. I'm lucky I can paddle 62 feet let alone 62 miles against a current and into the wind. But that's what these guys do all the time. Some of them complained the race was too short and many said they'd be done by Sunday night instead of the Tuesday morning deadline. In other words, many of them expected to be done almost 2 days faster than the organizers thought they'd be done.
Shortly before 8, the boats started arriving, which was a lot of fun. A non-stop caravan of trucks, vans, and cars stopped throughout the day to unload these beautiful wooden boats. It's amazing to me that after all the public events, the CLC demo boats can still look so good. My heart rose as PocketShip #1 made its way to the staging area in a Ford Flex driven by John himself. I was hoping to see his 1.8L Honda CRV but alas that car has long been upgraded.
 |
| John explains things to the Chesapeake Paddling Society. These were volunteers to help manage the crowd on the water. |
I then spent the morning wandering through the beach,
taking in the sights and sounds of Okoumefest. I'd estimate, easily, 100
boats there. Prams, kayaks, canoes, skiffs, and stand up paddle boards
lined the shore. My favorite boat (besides PocketShip of course) was the
Chesapeake 17 with a sailing rig. That baby is fast, steady, and
beautiful. It quickly rose up the list of next boat options. Most
disappointing was the nesting pram. My feet and sweater got soaked as it
laid really low in the water. The sea came over the side and through
the handle holes forward and aft. It was a wet & wild ride in calm
conditions. As a tender, I'm sure it will work well. But as a boat to
messabout in, I'm not so sure. I'm rethinking it as a tender due to that
experience. But I don't want to detract from the overall experience. That's exactly the point of Okoumefest: to try the boats and see where to go from there.
 |
| The Chesapeake 17 with sail rigging. Awesome! |
 |
| The nesting pram with sailing rigging. Wet but fun. |
In the interim, I waited for PocketShip to sail its way to the event. Because of its size, even though it's small for a sailboat, it still had to be launched a ways down the bay and then sailed over for use. I was of course the first person on the list, and maybe because of that, no other than John himself rowed my tender over to PocketShip. A salty fella in a cap and sunglasses welcomed me aboard and said his name was Jeff. I said hi, and it wasn't until a few minutes later I realized it wasn't "Jeff" but "Geoff" .. as in, Geoff Kerr, the builder of PocketShip #1 and the guy in all the photos. So, between getting a tender ride from John (no pun intended) and having Geoff act as skipper, I was in PocketShip heaven.
 |
| John takes me out to PocketShip. |
 |
| In the cabin. One happy wannabe builder. |
 |
| Geoff and an Okoumefester look at something interesting. |
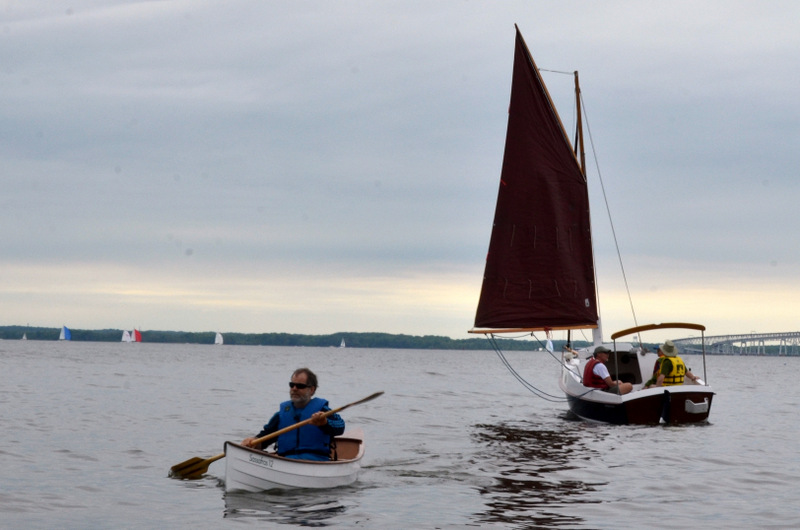
The ride didn't disappoint. Under a seasoned skipper, PocketShip sailed along delightfully yet sturdily. We had some wind challenges - gusts of 20kn and then nothing - but Geoff was able to point her where he needed and we cruised along effortlessly. I asked if I could turn on the radio, so hopped into the cabin and fired up the electronics. John's done a remarkable job down there. It sounds better than my 5.1 system at home. Like most boats, though, it's hard to hear the music in the cockpit. One of the things I'd like to do is set up some speakers in the side storage areas, but I've seen those areas heavily used for running lines, extra equipment, first aid, etc. My question is.. who needs first aid when you want some bad Euro techno? Ponder.. ponder..
 |
| Speaker system - port and starboard, both forward and aft in the cabin. The result: near Dolby surround sound. |
I asked Geoff what would he change in the design. He was very complimentary overall and remarked this was one of his favorite builds. Without hesitation, he said he'd sail it to the Bahamas. But he cited two things he'd change. The first was a slightly larger cockpit foot area. Geoff's a tall guy with big feet (insert joke here) so he can't quite turn his feet within the footwell, but has to lift his foot out of the footwell and then back down. I remember John responding to an email on another blog saying that this is one of the top questions he gets, and one of his most confounding. For him, and he's 6'3", he has no problem, so other people shouldn't either. Then again, he wears a size 4 shoe and has feet like a gazelle, so maybe that's why. Luckily, I'm not nearly 6'3" and my feet happily spin around like a top in the footwell.
The second thing Geoff said he'd change is the rudder-transom connection. Because the rudder wing is so wide, water tends to rush underneath even at anchor, thereby pushing the rudder up and down with a bang. I'm not aware of this problem on Chucky B. (the other Minnesota boat) but Geoff's recommendation was to make a more secure connection there. The PocketShip manual shows John and Geoff building the pintles/gudgeons from various hardware components. Cost effective, yes. But perhaps not quite as tightly fitting. When I was in the cabin, I listened for it, and sure enough, I could clearly hear the thump-thump-thump of the rudder bouncing up and down. On an otherwise quiet night, say at anchor in the Apostles, that could be one very annoying thump-thump-thump. As mentioned at the top of this section, getting to talk to a guy like Geoff was worth the trip.
Overall, Okoumefest was great. Nevermind I had to pull eight ticks out of my navel due to that crappy campground. I'd go again, but I'd stay in a hotel next time.
I then had Sunday to burn off and headed for Baltimore where I took a tour of the tall ships in harbor and the other boats set up as maritime museums. The U.S. Constitution (Civil War tall ship), U.S.S. Tursk (a submarine), a Chesapeake Light Craft (a real one), and a Coast Guard destroyer are all open to the public. Surprisingly, the submarine was the most interesting to me.
 |
| A Chesapeake Light Craft - a real one that lighted and guarded the entryways to Baltimore in the 40's and 50's. |
On the build, I haven't had much progress. It's been hectic since back but I do have time tonight to finish the hull assembly in preparation for the first fillets. I'd like to have a dedicated day so I can do fillets followed by 'glass, thereby avoiding some sanding work. But we'll see. As always, it'll be done when it's done, so I'm not too concerned I'm a little behind schedule.
PS: Blogger finally fixed the photo upload problem so I was able to upload many more photos here. That's cool.